Copper Soldering Torch - instruction

06-12-2021
0
Instructions for soldering copper pipes and choosing a torch for soldering copper.
Copper pipes have been used for years, until today they are an indispensable material for transporting water, air, other liquids and gases in a durable, reliable and safe manner. Properly performed copper soldering, i.e. pipes, elbows and various copper fittings with each other, and even made of brass or bronze - allows for home or industrial installation ensuring durability for years, and in the event of failure, e.g. accidental drilling (which often happens) easy to repair by soldering the hole. We will cover all steps for easier understanding of proper soldering.
1. Cutting the pipe:
Measure the distance you need and cut it with a hacksaw - hardcore version: D or with a special cutter, which you will get for a dozen or so zlotys. (remember that the entire installation should be as narrow as possible, which reduces the number of soldering fittings.
2. Chamfer the pipe with a deburrer.
3. Clean the surface of the pipe and socket, elbow or other fitting that you have to solder with the cleaner.
4. Select the appropriate soldering wire. Here you have a choice:
soft soldering - that is soldering at low temperatures of about 400-500 degrees
brazing - that is 700-800 - recommended due to greater durability
5. If the solder requires a flux - coat the surfaces with solder paste.
6. Press the tube firmly into the fitting.
7. Remember to cover the elements that may catch fire, - cover with protective mats.
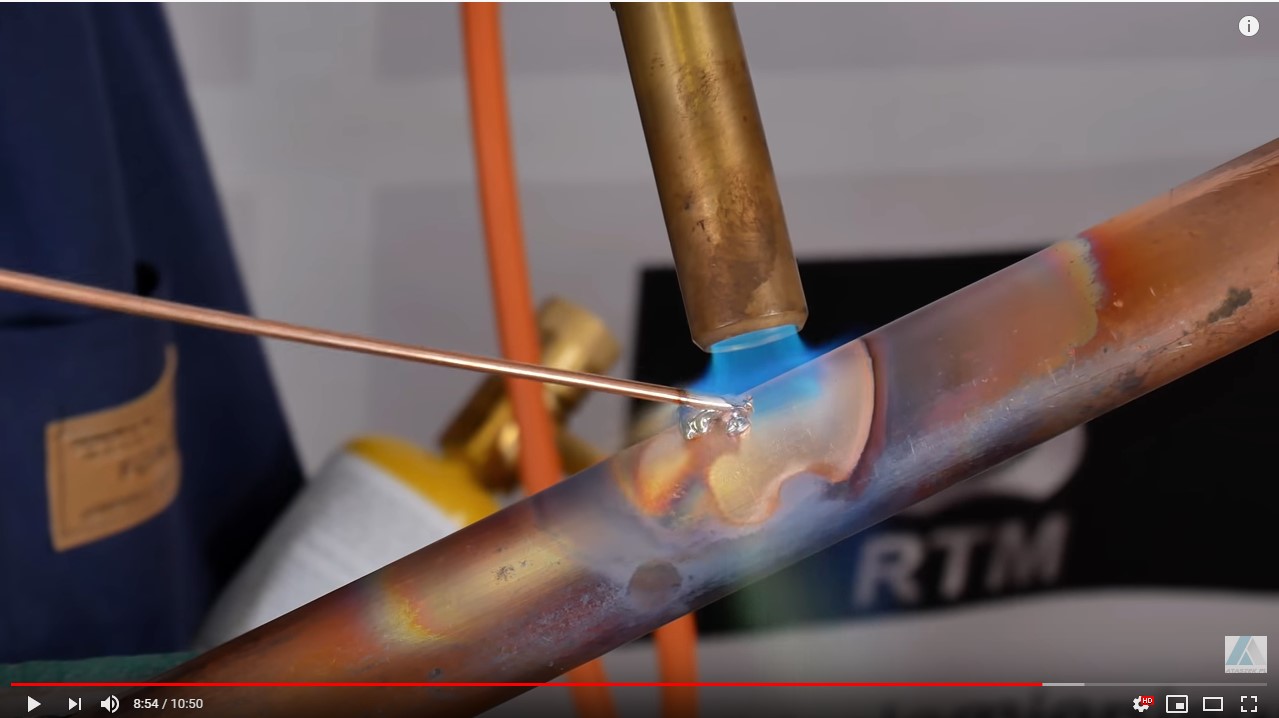
8. We come to the main task, which is copper soldering.
Here are a few words of explanation and errors that may appear. To heat the soft solder tube, you can use a powerful soldering iron, a small torch or even a heat gun. In the case of brazing, you need to use more efficient equipment, i.e. a map gas burner, an acetylene burner or a powerful propane-butane gas burner - but we advise against the latter method, due to the contaminated gas, which causes the deposition of impurities during heating. Therefore, for both soft and hard soldering, we recommend using a map or acetylene burner (some of them are inconvenient due to the size) matched to the dimensions of the soldered pipes.

8.1 Unscrew the gas from the cylinder and on the burner and ignite the gas above the nozzle and adjust so that the flame has the appearance of a cone - it cannot "spit the flame" and it must not be too short, because then you will not heat the surface and the nozzle may overheat and destruction of the burner.
8.2 Heating should be carried out until the wire begins to melt after contact with the heated surface. This is easy to see because the tube will change color and turn red. (it will start to "glow"). This is the right moment to apply the solder to the edge, which will flow itself between the pipe and, for example, a tee - it will be the effect of pulling the solder between the surfaces. However, remember not to overdo it with the quantity so that the solder does not flow into the joint.
9. Wait for it to cool down - do not cool with water !!!
10. Clean the joint from possible flux contamination.
11. After all the operations check the installation tightness.
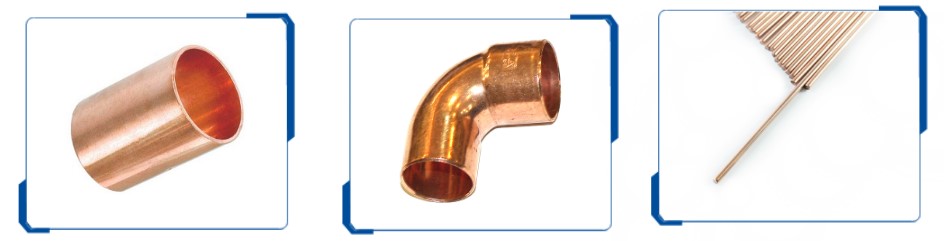
We recommend this method for repairs and elements such as: an elbow, a socket, copper couplings and fittings, a reduction or a copper tee.
In case of repairing a leak in the installation or a hole.
1. Locate the failure.
2. Drain the medium that flows in the tube - at least in the section to be repaired.
3. Clean the place of repair, min. 2 cm around.
4. If the defect or gap is small, 1-2 mm. it is enough soldering: the so-called heating of this piece, giving the solder and pouring.
5. In the event of a break over a distance greater than 0.5-1 cm, insertion of a half-tube should be considered.
- a tube of the same or slightly larger size cut in half;
- cleaning the surfaces from both sides;
5.1 Heating these two elements at the same time, so as to apply solder to the tube around the crack and at the same time position the insert so that the solder is between the surfaces (of course, use pliers and then a screwdriver to hold the elements to cool.
5.2 You can additionally pour solder around the edges to ensure even greater strength and 100% tightness.
6. Clean the repair area.
7. Perform a leak test.

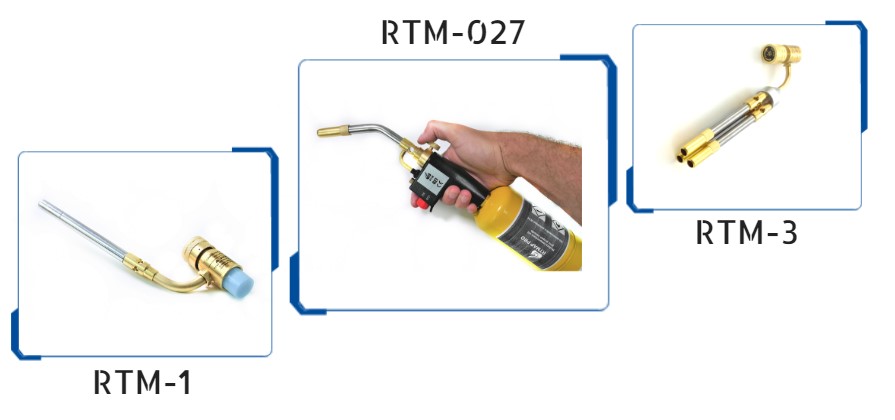
Which gas burner for copper soldering should you choose?
There are many soldering torches on the market. There are e.g.
- burners with a magneto, e.g. RTM-027
- single-tube burners, e.g. RTM-1
- triple efficient, such as the RTM-3.
![]() NOTES AND TIPS:
NOTES AND TIPS:
- Remember you use open fire, so secure all the elements that could catch fire or disassemble them completely if possible.
- You may need a second person to help.
- Make sure that there are no children, pets and uninvited people nearby.
- The system to be repaired should be empty and depressurized, especially if there is flammable gas in the pipes.
![]()
Comments