PVC flooring

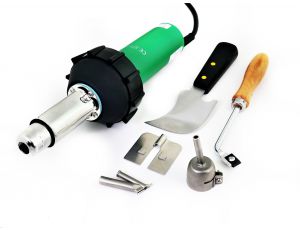
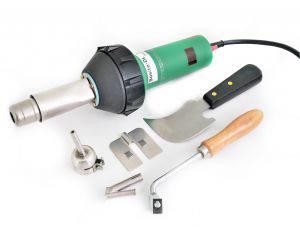
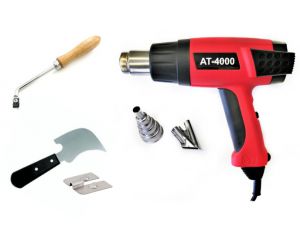
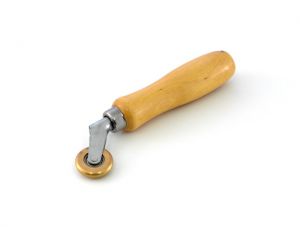

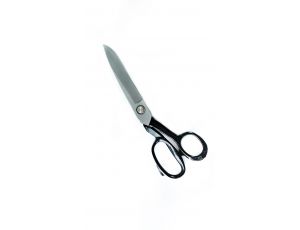
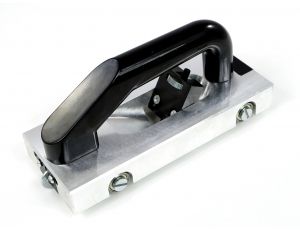
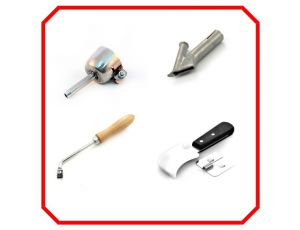
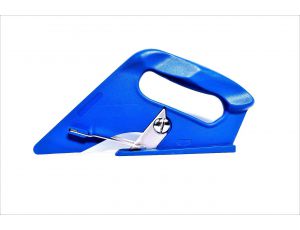
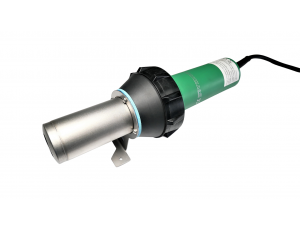
Which model to choose? If we want to lay carpets, the choice is very simple. In the case of a small scope of work and load, e.g. 1-2 rooms, from time to time, we choose the AT-4500 model, preferably with the entire set, then you do not have to buy anything. For professional work with low, medium and heavy loads, there is one BOSITE-D in the set with the most needed tools and then you can choose less used but often accelerating the work accessories mentioned below. What is a carpet welder and how does it work? It is a tool that melts PVC plastic locally (the lining is flexible plastic, i.e. PVC without fillers) and the binder under pressure. The two materials are joined with a suitable nozzle. The principle is simple: temperature on the substrate and binder+ correct pressure - without it you will not lay the rope correctly. Welder or welding machine for PVC floor coverings? The correct name is a welder, however, as a rule, PVC flooring can be welded. As a rule, 99% of the work consists in the former because we fuse the third element, which is the welding cord. What types of floor coverings can we weld? - naming. Currently, the most popular material is more or less flexible PVC, which is the vast majority. It can be modified for specific applications, e.g. industrial flooring with the addition of ceramic or metal balls increasing the abrasion by an order of magnitude (especially in city buses and floors in workplaces). An addition can also be an anti-skid layer or a very interesting insert, more precisely copper wire lines to collect electrostatic charges. The common names are linoleum, gumoleum or lentex derived from the manufacturer's name. How to lay a floor covering? Remember that the base should be clean, dust-free, dry and even. If the floor has been poured, e.g. as an attic, the seasoning should last for a minimum of 7 days. with thin spouts 14-21 with thicker ones, at a temperature of 18-21 degrees. Unwind the carpet from the roll and roughly cut it, leaving 10-15 cm for folding over the wall (unless the project provides otherwise) and about 5 cm for an overlap to cut the joints between one and the other. Leave for about 24 hours for straightening - laying. It is best to divide the gluing of the carpet into 2 stages: from one side you roll the first part inwards, apply the glue to the floor covering - the base and glue (depending on the glue, you wait 5-10 minutes for drying, the two-component one is applied to the base and the presser immediately) you repeat the same on the other end. You press the whole thing down with a roller and wait for several hours to dry. Now you are cutting on the walls and in the place of joining. Where there is a weld, you mill with a manual milling machine or on wheels, in the corners of the carpets you press with a brass pressure roller, the so-called donut. heating beforehand, so as not to break at the folds. For most welds, a quick welding nozzle is enough, but with complicated, inaccessible shapes such as corners, stairs, etc., your work will be facilitated by the super speed nozzle and a separate roll guiding the rope. Remember that after welding the whole thing cool down only then you can use a half-moon knife or a much more comfortable mozart knife. What if I can't weld? Although we have described the whole process of welding carpets as above, you can conduct training in welding carpets in your company, where we also discuss the entire laying process. If it is only a piece for welding, it is often better to buy even a cheap AT-4000 model and put it yourself because companies that provide such services (even in major cities such as Łódź, Szczecin, Warsaw, Wrocław, Poznań or Białystok) are small jobs they will not want to undertake.